Every successful product starts as an idea. But the journey from concept to market-ready product is filled with challenges, iterations, and critical decisions. Rapid prototyping with 3D printing has revolutionized this process, allowing innovators to test, refine, and perfect their designs faster and more affordably than ever before.
Here’s your complete guide to using rapid prototyping effectively in your product development journey.
What is Rapid Prototyping?
Rapid prototyping is the quick fabrication of physical parts, models, or assemblies using 3D printing technology. Unlike traditional prototyping methods that might take weeks or months, rapid prototyping can produce functional parts in days or even hours.
The goal isn’t just speed – it’s about enabling more iterations, better testing, and ultimately superior final products. When you can create and test multiple versions of your design quickly and affordably, you make better decisions and catch problems early.
Stage 1: Concept Development and Initial Design
The Starting Point
Every product begins with identifying a problem that needs solving. Whether it’s a better way to carry water, a more efficient farming tool, or an innovative medical device, successful products address real needs.
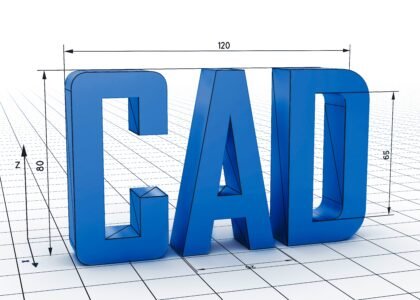
From Sketch to 3D Model
Once you have a clear concept, the next step is creating a 3D digital model. This can be done using:
- CAD software (SolidWorks, Fusion 360, Inventor)
- Free alternatives (FreeCAD, Tinkercad)
- Professional design services
Don’t worry if your first model isn’t perfect – that’s exactly why we prototype.
Design for 3D Printing
When creating your initial design, keep these 3D printing considerations in mind:
- Avoid overhangs greater than 45 degrees without support
- Include drainage holes for enclosed spaces
- Consider how support material will be removed
- Think about print orientation for best surface finish
Stage 2: First Prototype – Proof of Concept
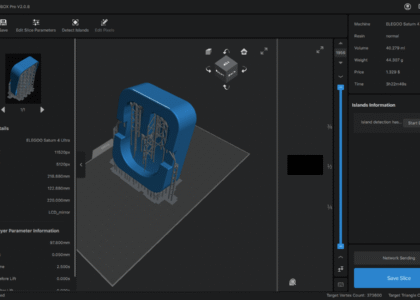
Choosing Your First Print
For your initial prototype, focus on proving the basic concept rather than perfecting details. Use standard resin for cost-effectiveness and choose a print resolution that balances detail with speed.
What to Test
Your first prototype should answer fundamental questions:
- Does the basic concept work?
- Are the proportions correct?
- How does it feel in hand?
- Are there obvious design flaws?
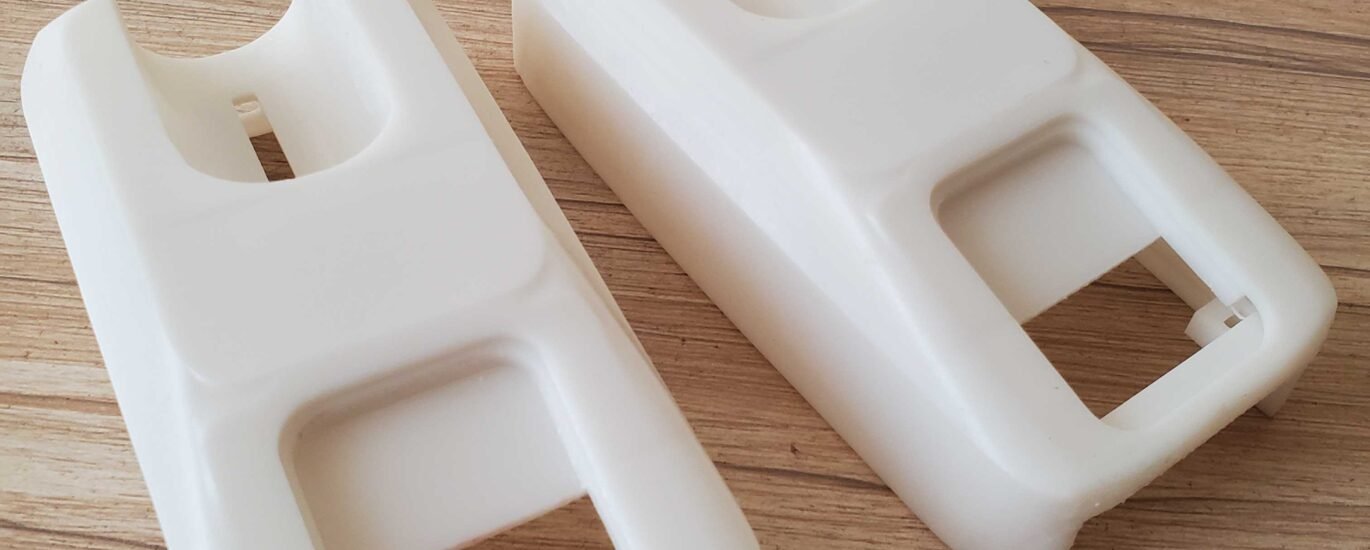
Case Study: Water Filter Housing
A Ugandan inventor developing a new water filter started with a simple cylindrical housing. The first 3D printed prototype immediately revealed that the threading for the filter element was too tight, making assembly difficult. This insight, discovered in day one, saved weeks of development time.
Stage 3: Design Iteration and Refinement
The Power of Multiple Versions
With traditional manufacturing, making changes is expensive. With 3D printing, you can afford to print multiple versions and test different approaches simultaneously.
Systematic Testing Approach
Create a testing protocol that addresses:
- Functional requirements
- Ergonomic considerations
- Durability needs
- User feedback
- Manufacturing considerations
Version Control
Keep detailed records of each iteration:
- What changed from the previous version
- Test results and observations
- User feedback
- Photos and measurements
- Next steps and improvements
Stage 4: Functional Testing
Moving Beyond Looks
Once your design looks right, it’s time to test if it works right. This often means switching to engineering-grade resins that can handle real-world stress and conditions.
Environmental Testing
Consider how your product will be used:
- Temperature extremes
- Chemical exposure
- UV degradation
- Mechanical stress
- Wear and tear
User Testing
Get your prototypes into the hands of potential users. Real-world feedback is invaluable and often reveals issues you never considered.
Case Study: Agricultural Tool Handle
A farming tool prototype looked perfect but failed during field testing when users found the grip became slippery when wet. The solution was redesigning the surface texture – something only discovered through actual use testing.
Stage 5: Pre-Production Validation
Final Design Freeze
Before moving to mass production, create what’s called a “design freeze” – a final version that incorporates all learning from previous iterations.
Comprehensive Testing
Your final prototypes should undergo rigorous testing:
- Accelerated life testing
- Quality assurance protocols
- Safety validation
- Regulatory compliance (if applicable)
Small Batch Production
Consider using 3D printing for a small initial production run. This allows you to:
- Test market response
- Refine manufacturing processes
- Build initial inventory
- Generate revenue for scaling
Stage 6: Manufacturing Transition
Design for Manufacturing (DFM)
As you transition from prototyping to mass production, your design may need modifications to work with traditional manufacturing methods like injection molding.
Tooling Prototypes
3D printing can help here too. Create prototypes of injection mold inserts, jigs, and fixtures to validate your manufacturing approach before committing to expensive tooling.
Quality Validation
Use 3D printed parts as quality standards to ensure manufactured parts meet specifications.
Best Practices for Successful Rapid Prototyping
Start Simple
Begin with the simplest version that proves your concept. Complexity can be added in later iterations.
Fail Fast, Learn Faster
Don’t be afraid of prototypes that don’t work perfectly. Each failure teaches valuable lessons that improve the final product.
Document Everything
Keep detailed records of each iteration, including what worked, what didn’t, and why changes were made.
Get External Feedback
Don’t develop in isolation. Regular feedback from potential users, industry experts, and advisors is crucial.
Plan for Manufacturing
Even in early stages, consider how your design will eventually be manufactured at scale.
Common Rapid Prototyping Mistakes to Avoid
Over-Engineering Early Versions
Don’t spend weeks perfecting details on your first prototype. Focus on core functionality first.
Ignoring Material Properties
Choose prototyping materials that match your final product’s requirements as closely as possible.
Skipping User Testing
Assumptions about how users will interact with your product are often wrong. Test early and often with real users.
Not Planning for Scale
Consider how your design will change when moving from single prototypes to mass production.
Perfectionism Paralysis
Don’t let the pursuit of the perfect prototype prevent you from testing and learning.
Working with 3D Printing Uganda
Our role in your rapid prototyping journey goes beyond just printing parts. We offer:
Design Consultation: Our engineers can help optimize your designs for 3D printing and suggest improvements based on our experience with similar projects.
Material Guidance: We’ll help you choose the right materials for each stage of your prototyping process.
Iteration Support: We understand that prototyping involves multiple versions. Our pricing and scheduling accommodate rapid iteration cycles.
Quality Assurance: Each prototype is inspected to ensure it meets your specifications and will provide meaningful test results.
Manufacturing Advice: As you approach production readiness, we can provide insights on transitioning from prototypes to mass manufacturing.
The Uganda Advantage
Rapid prototyping in Uganda offers unique advantages:
- Lower labor costs for testing and evaluation
- Proximity to diverse user groups for feedback
- Growing ecosystem of manufacturers for production scaling
- Supportive environment for innovation and entrepreneurship
Conclusion
Rapid prototyping with 3D printing has democratized product development. Ideas that once required massive capital investment to test can now be validated for the cost of a few prototypes.
The key to successful rapid prototyping is embracing the iterative process. Each prototype teaches you something new about your design, your market, or your manufacturing approach. By the time you’re ready for production, you’ll have a thoroughly tested, user-validated product with a much higher chance of market success.
Remember, the goal isn’t to create perfect prototypes – it’s to create a perfect product. Every iteration brings you closer to that goal.